
I have been holding back on posting a lot of yeast baking recipes, since I know yeast intimidates a lot of people. Above all I want The Cook’s Life to be approachable, and for you to actually make some of the recipes. But I also don’t want to miss out on highlighting how much fun it can be to make your own bread, bagels, English muffins and rolls.
Bagels are a great project for a weekend, especially if you want to get the whole family in on the fun. Or you can hole up in the kitchen by yourself and have some time with the flour, as I like to do sometimes. If you can stir, and you don’t mind getting your hands in the dough, you can make bagels.
Above all, don’t let the fact these have yeast in them intimidate you. When I teach bread classes, I hear from so many people that they could never make anything with yeast. But if I ask how many people have made pizza dough or soft pretzels, some of those same people raise their hands. They weren’t afraid of the yeast then, because they were using a mix. Yeast is yeast, whether you are using a mix or baking from scratch, and you can do it.
There are just a few things to remember when baking with yeast:
- Don’t get the water too hot. Hot water kills the yeast – too cool is better than too hot. Warm water wakes the yeast up the fastest, but cool water works too, you just might have to wait longer for the dough to rise. The water should feel warm to your finger, but not hot. And yes, you should stick your finger in to test it.
- If the dough isn’t doubled after the time stated in the recipe, give it more time. The recipe writer can’t predict how warm your kitchen is, or exactly how warm your water was when you started.
- Kneading is not difficult. You are basically turning and folding the dough, adding flour as you go. Kneading develops the gluten in the dough, helping it to support the dough as it rises. At first the dough will be sticky, but as you knead and add flour, it will become smooth and bouncy and no longer sticky.
- Have fun with it. You will produce something tasty. I pretty much taught myself how to bake with yeast, and there was a learning curve – but I never made any bread, bagels or rolls that we couldn’t eat. Sure, some of my results were flatter than expected, or weren’t very pretty, but they tasted good.

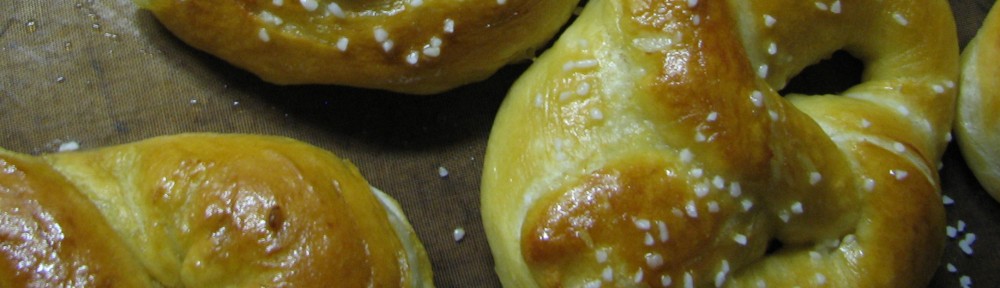
Homemade bagels definitely rival any bakery bagels you have ever had. And they leave grocery store bagels in the dust. Try them once and see what you think. And above all, have fun with them!
Download or print the recipe here.
Whole Wheat Bagels
Adapted by The Cook’s Life
From King Arthur Flour
Makes 12-16 bagels
Your first bagels might not be pretty. The shaping isn’t hard, but it does take a little practice. The bagels will be delicious, no matter what they look like.
The recipe includes malted milk powder, which is in the grocery store, next to the chocolate syrups. It isn’t absolutely necessary to the recipe, but it adds a nice hint of maltiness. You can leave it out if you like.
2 cups warm water
1 packet dry yeast (2¼ teaspoons)
¼ cup instant malted milk powder
2 tablespoons granulated sugar
1 tablespoon salt
5 cups white whole wheat flour (see note)
¾-1 cup all-purpose flour, plus more for kneading
Water bath:
2 quarts water
2 tablespoons granulated sugar
Note: You can make these will less whole wheat flour, or use entirely all-purpose flour – you might need to add a little more all-purpose flour than stated in the recipe.
Pour water in a large bowl. Add yeast, malted milk powder, sugar, salt and 4 cups white whole wheat flour. Mix well. Add remaining whole wheat flour and mix until combined. Add about ½ cup all-purpose flour and mix again. You should now have a sticky ball of dough and you will be using a chopping motion instead of actually stirring.
When dough is slightly less sticky, sprinkle with flour. Cover your kneading surface with flour and turn dough onto it. Knead dough for about 10 minutes, or until it is smooth, elastic and no longer sticky. Add flour as necessary to keep dough from sticking to your hands and your kneading surface.
Place dough back in the mixing bowl and cover with plastic wrap or a wet towel and allow to rise for 1-1 ½ hours, or until doubled. Lightly grease two baking sheets, or line them with parchment paper, and set aside.
Transfer dough to a lightly floured surface. Cut into 12-16 pieces, depending on size desired. Twelve pieces will give you truly massive bagels, akin to some bakery bagels. Sixteen gives you a smallish bagel that is just enough for a weekday, not-too-indulgent, breakfast. I prefer to make 16.

Pick your shaping technique:
- Roll each piece of dough into a smooth ball. Flatten the balls slightly and poke a hole in the middle. Use your fingers to widen the hole and smooth the edges. Place the shaped bagel the prepared baking sheet.
- Roll each portion of dough into a snake about a foot long (like you are playing with Play-doh). Wrap the snake completely around your hand and join the ends at your palm, overlapping the last 2 or 3 inches of the ends. Roll the overlapping ends between your palms, with the rest of the snake still around your hand, until you can’t see the seams anymore. Ease the bagel off your hand and onto the baking sheet.
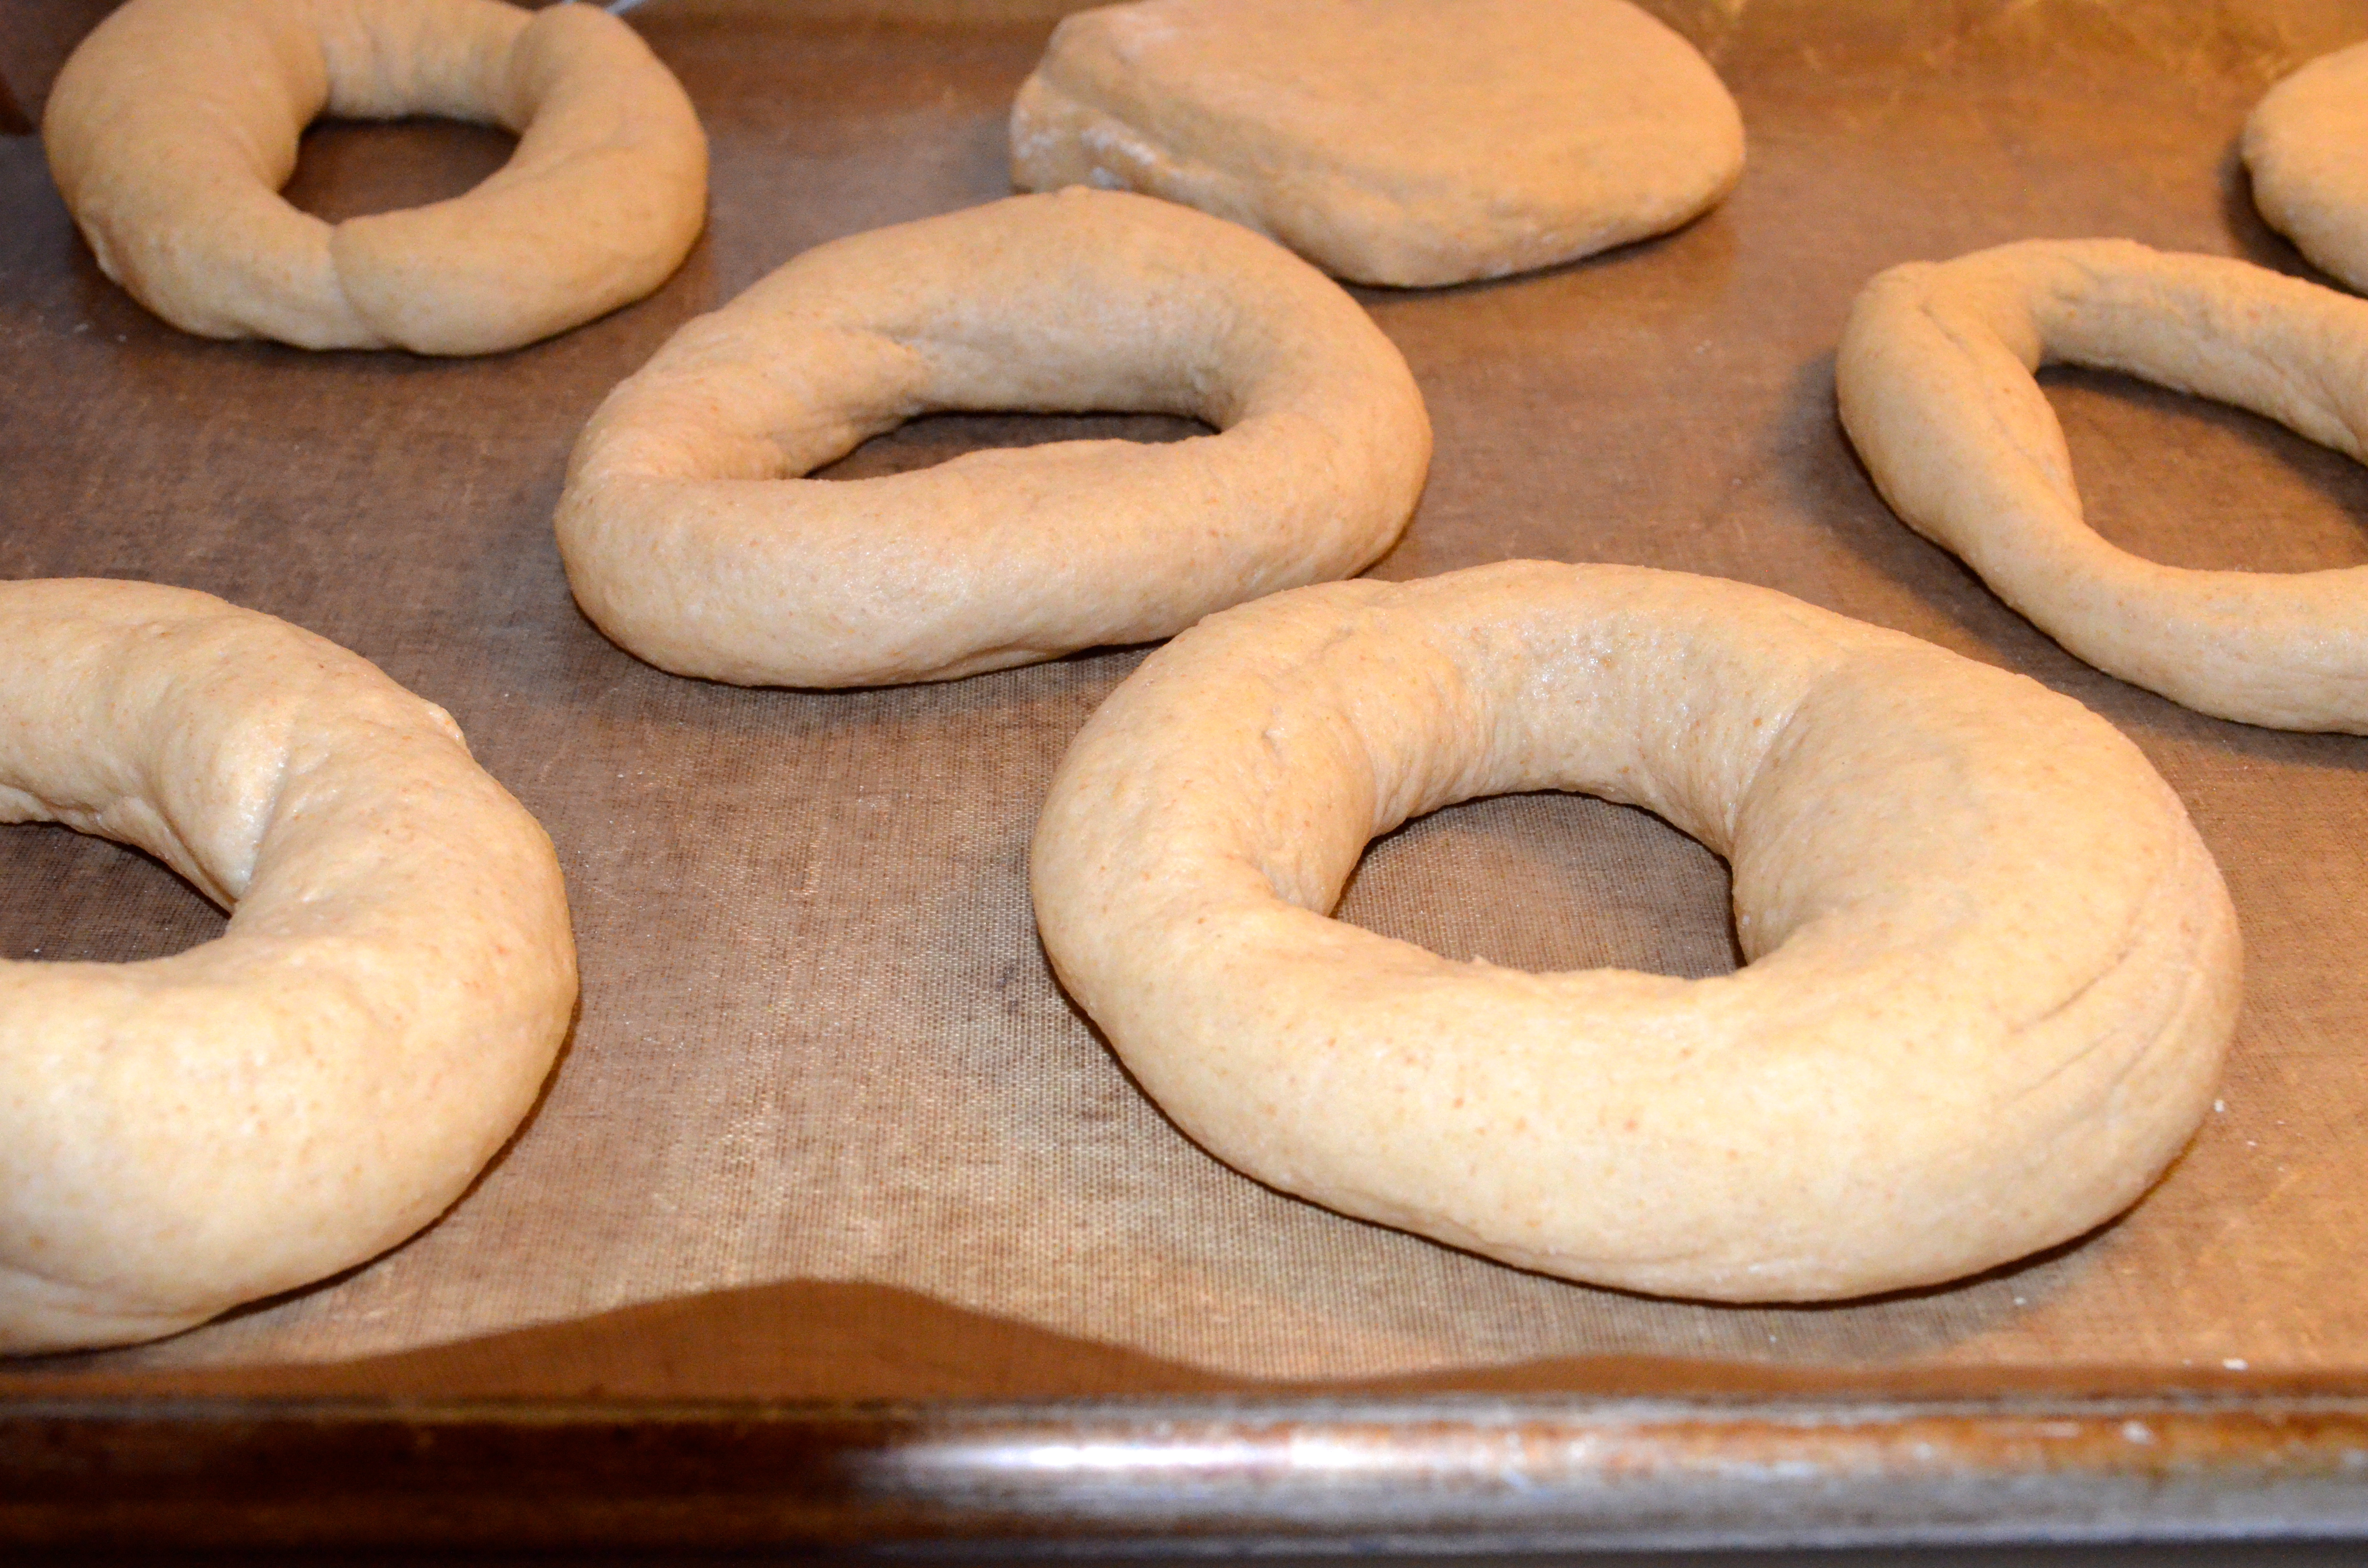
Cover the bagels loosely with parchment or waxed paper and let rise for about 15 minutes. Don’t let them rise much more than this or they will deflate and/or stick to everything when you try to boil them.
While the bagels are rising, add sugar to the water in a 3-quart saucepan and heat over medium heat to a simmer. Keep the lid on the pot to keep your water from evaporating while it comes to a boil. Set up a dinner plate lined with about three paper towels or a clean kitchen towel (not a fuzzy one, which will stick to the bagels. Flour sack towels work nicely). Preheat the oven to 425 degrees.

After the 15-minute rising period, remove the lid from the pan and set aside. Ease a bagel off the baking sheet and into your hand. If the bagels stick too much, dip a pancake spatula in the hot water and then use it to ease the bagel off the baking sheet. Slip the bagels into the simmering water and cook about 30 seconds on a side. You can boil two or three bagels at once, depending on the size of your pan. Remove boiled bagels to the towel-lined plate and start more cooking. After bagels have drained for a few seconds, you can put them back on the baking sheet.
Bake the boiled bagels for 13-15 minutes, or until lightly browned on top and a little darker on the bottom. If you are using two baking sheets, switch them top to bottom in the oven after about 7 minutes.
Cool bagels on a rack until room temperature before slicing them in half. Store in an airtight container for a day or two, or freeze for longer storage.

Bookmarked for when the kids’ braces are off (yes, both at the same time) and we can enjoy bagels again. In the meantime, it’s my guilty pleasure to take a trip down to the bagel cafe . . .
I don’t envy you both kids having braces at once! Of course, we just have the one kid. 🙂 He is passing on the bagels until the braces are off – hopefully in six months or so! But Rich and I are enjoying them almost every morning for breakfast.
I made bagels with my granddaughter. We had a lot of fun with shaping them.
I love cooking with kids. I’m sure your granddaughter has many memories of cooking with you! Those are my son’s hands in the pictures, even though he isn’t eating them right now to safeguard his braces. He always loves to help in the kitchen, even when he can’t, or won’t (very picky eater), eat that particular food.
I love this idea! My kids would go crazy for homemade bagels. Do you think I could make them even smaller? And I could probably get seeds to stick with egg whites, right? Hmm…
Emmy, you could make mini bagels if you made between 20 and 24, I think. Yes, you can get seeds to stick with beaten egg whites, or even a whole egg. After the boiling, but before baking, just brush on egg and sprinkle on the seeds. Press lightly and then bake. They should stick pretty well. If they don’t stick well enough, try a cornstarch wash the next time – use about a teaspoon of cornstarch stirred in a tablespoon or so of water. Heat in the micro for a few seconds, until starting to bubble on the edges. Stir until uniform and then brush on like egg wash. Watch it like a hawk though – it goes from bubbly to a rubbery mess in no time. Makes seeds stick like glue. I have never tried it on bagels, but it worked like a charm on bread and hamburger buns.
How fun, thanks! I think the egg wash should work since it works for me oh challah, but I’ll report back. 🙂